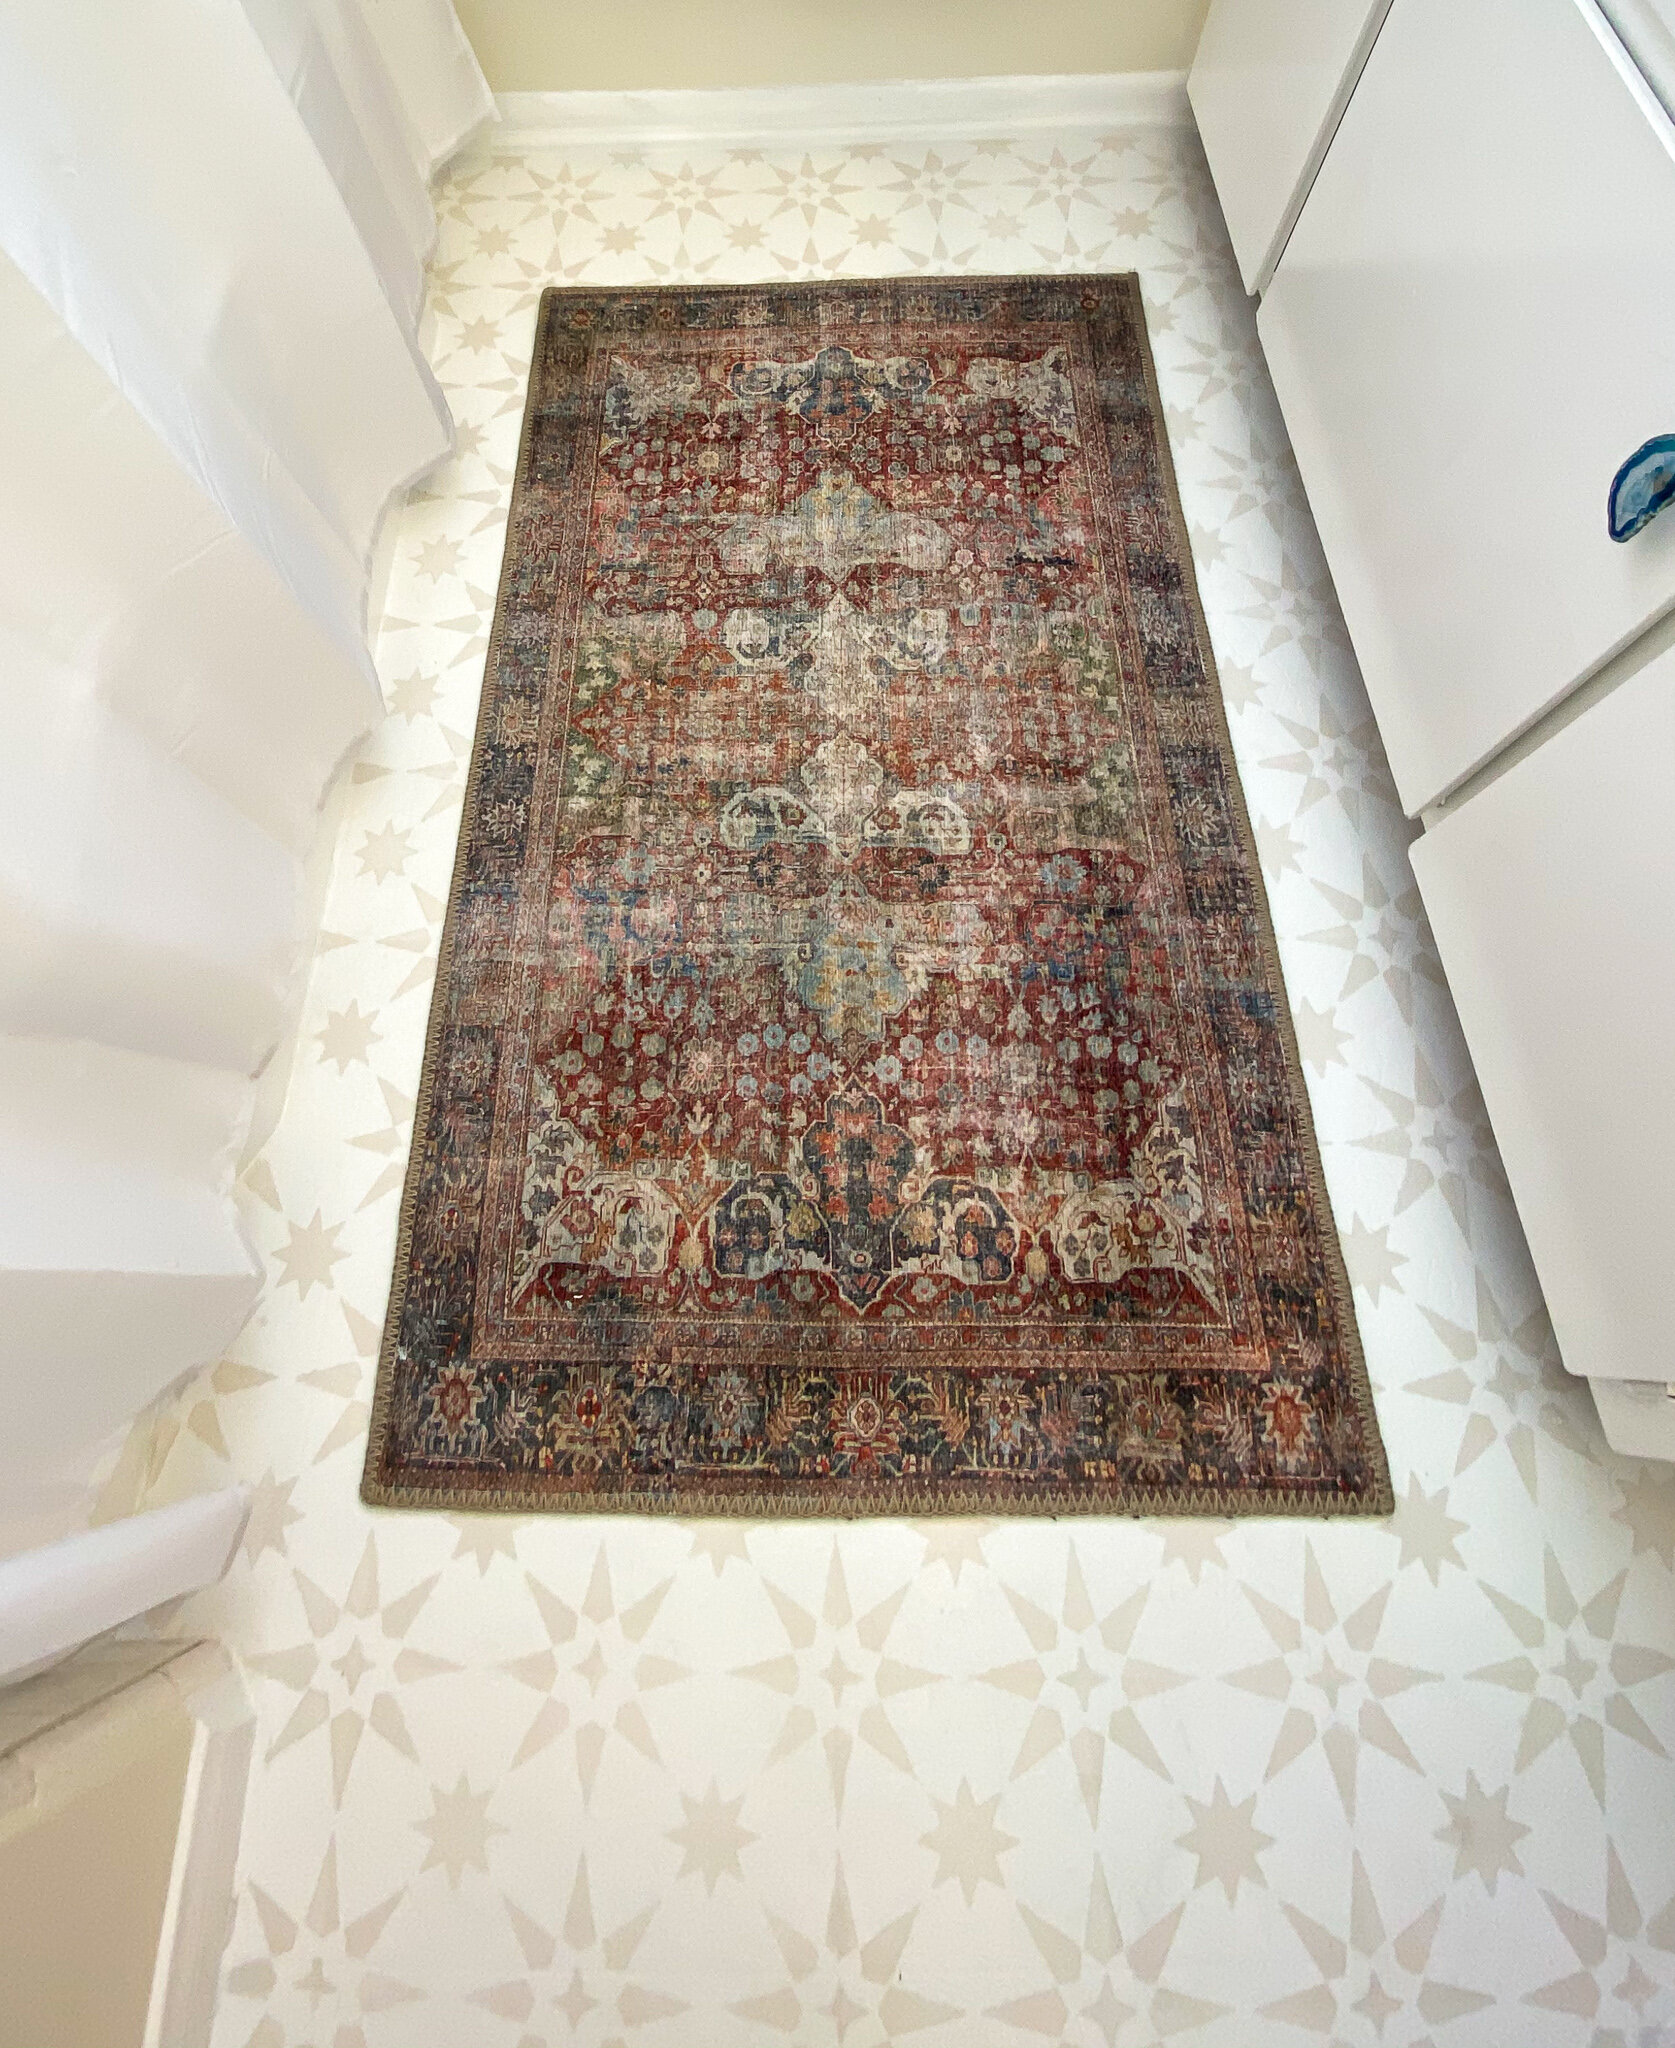
How to Faux Tile Your Ugly Floors
So let’s get the first order of business out of the way. Do not be a perfectionist on this project or it will take you a lifetime. I promise a little smudge here and an uneven line there will not be as noticeable when you’re done.
I “faux tiled” my ugly vinyl bathroom floors by painting them and then stenciling a tile pattern on top before sealing it. Check out this amazing before and after.
Before [photo from realtor website]
PS. The rug is from Amazon.
I’m obsessed.
DIY: How to paint vinyl flooring
Things You’ll Need:
Paint Brush (on the smaller side)
An old towel/newspaper (for your all your tools & stencils to rest while you work)
Scissors
Order your stencil [order two of your chosen stencil]. You can match your stencil size to your existing tile. I had vinyl so I used whatever size I wanted. [Or if you’d prefer to use painter’s tape, I suggest checking out Angela Rose’s Post.]
Get your supplies. The paints can be ordered online via Home Depot but if you want a particular custom color for the base paints, go in-person to the Paint counter. Rust-Oleum’s HOME paints are amazing & super durable! Depending on what stencil you are doing you can use the primer as a base paint too. So I used the Gripper paint as my white color and a custom color for my tan.
Clean your floors. Make sure they are free of dirt/debris and dry. PRO-TIP: wipe down the floors between coats to make sure it’s free of dirt/debris and dry. Especially if you used the bathroom at all between coats, which of course we did.
Apply painter's tape along all the edges you are painting [don’t forget the toilet].
Apply primer to the entire area. Let dry for 6 hours before applying a second coat. I applied ended up applying three coats but depending on your “before” floor, two would be adequate. If you are using a tint base paint as you background color, one coat of primer is adequate. Let dry for 6 hours between coats.
Stencil time. Start in one corner and work your way from there.
A couple tips:
Don’t be a perfectionist. I told myself to keep moving forward and I can do touch-ups at the end. By the end of it, all those little mistakes aren’t noticeable.
I used an old towel to lay my stencils to wipe down with a rag and let dry between uses.
I found that less paint was best. Make sure to roll the roller on the paint tray ramp until it’s not that saturated.
Don’t over roll the stencil. A couple rolls over the stencil will suffice.
Work in almost a checker board pattern so that the paint has time to dry between stencils.
Once you’ve finished all the full size stencil areas begin work on the edges and hard-to-reach areas. PRO-TIP: I started by cutting 1/3 of one of my stencils off. Getting all the places I could reach with the slightly smaller stencil before cutting down. Save all the stencil parts, I promise you’ll end up using them to get all those areas around the toilet, vanity, etc.
Once you’re down your pattern, let dry for 1-2 hours before applying the top coat. You only need one coat unless you would like a second coat for durability. If so, wait 2 hours before applying additional coat (within 24 hours of first coat). I only did one coat and it has held up 100% perfectly for the last two months. Do not let product puddle.
Finally, allow 24 hours for light foot traffic. Allow a full 72 hours before replacing furniture. Do not wash or drag objects across the floors before it is fully cured (7 days).
Last step - use the white 100% silicone caulk and touch up the edge of the trim. This will give it a clean edge and professional look.
Good luck! xo Amy Lee
Taping
First Coat
Third Coat
Stencil Time!
Progress.
Time to do the hard to reach places.
Trim stencil
Final Touch-ups
Nothing a little caulk & paint can’t fix.
Before Caulk & Trim Paint
After


![Before [photo from realtor website]](https://images.squarespace-cdn.com/content/v1/53b419e9e4b059c25cafacc7/1589984108564-D9O8VTUWCN6SY4PRXR48/ALQ+Designs+Before+Bathroom+Faux+Tile)


